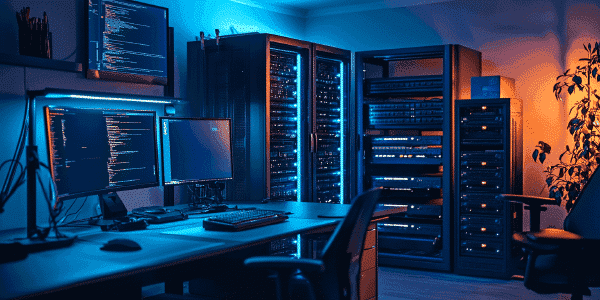
In Part 1 of this series, I took you on a tour of my current homelab – a real workhorse that’s been the backbone for my career growth and side projects for ages. But, let’s be honest, technology doesn’t stand still, and my workloads were starting to push the old setup to its limits. It was becoming pretty clear to me that an upgrade wasn’t just a ‘nice-to-have’ anymore, it was a ‘must-do’. I also walked you through what I was aiming for with this next-gen lab – hitting that sweet spot of performance, being able to scale when needed, keeping the power bill reasonable, and not breaking the bank.
Now, for the really fun bit! It’s time to pick the actual hardware and start piecing this beast together. In this post, I’m going to take you behind the scenes of my research, show you the different paths I considered, and reveal the components I finally landed on. And trust me, sometimes the best opportunities jump out when you least expect them!
So, let’s jump right into this adventure of turning homelab dreams into shiny new hardware reality.
Diving into the Research#
With the decision made to upgrade my homelab and the key goals of performance, scalability, energy efficiency, and cost-effectiveness firmly in mind from Part 1, the next logical step was to dive into the often-complex world of hardware research. My starting point wasn’t just Browse for the latest and greatest gear; it was about understanding the specific hardware implications of the software platforms I intended to run and the overall performance I wanted to achieve.
This research process involved several key areas: understanding the processor requirements for platforms like Azure Local (Azure Stack HCI), Windows Server 2025, and VMware Cloud Foundation; evaluating storage options to balance speed and efficiency; considering the form factor and expandability of potential server hardware; and navigating the unique challenges of sourcing suitable equipment here in New Zealand.
Processor Power: Matching Hardware to Software#
My initial focus was on the processors. Each of my target software platforms has its own set of hardware preferences, particularly when it comes to CPU architecture and generation. For Azure Local, Windows Server 2025, and VMware Cloud Foundation, it quickly became apparent that I needed to be looking at either Intel Xeon Scalable (Gen 1 or newer) or AMD EPYC Zen “Naples” chips to ensure compatibility and the necessary processing power. Minimum specifications definitely matter when you’re aiming to build a robust and capable lab environment.
Beyond raw processing power, security is becoming an increasingly critical aspect of both enterprise and even homelab environments. This is where Trusted Platform Modules (TPM) come into play. While TPMs have been around for some time, their role in enhancing system security is becoming more prominent across the board, from consumer devices (like the requirement for Windows 11) to enterprise-grade servers. While often recommended for security features in operating systems like Windows Server and virtualization platforms like ESXi, TPM 2.0 is now a hard requirement for bare metal deployments of Azure Local. This non-negotiable requirement significantly narrowed my hardware search, as I couldn’t simply consider any older server; I had to ensure that any potential candidate either had an integrated TPM 2.0 module or offered the possibility of adding one. This security consideration was a key filter throughout my hardware evaluation process.
Enterprise-Grade or Bust#
Right from the start, I was set on proper server hardware. No desktop PCs pretending to be servers, or those cute but limited mini PCs. Enterprise-grade gear just gives you that rock-solid compatibility with, well, enterprise software, and it’s built to be expanded. However, buying brand-new servers? Forget about it. My homelab budget isn’t that big! Second-hand market it is.
Storage Showdown: Flash or Spinning Rust?#
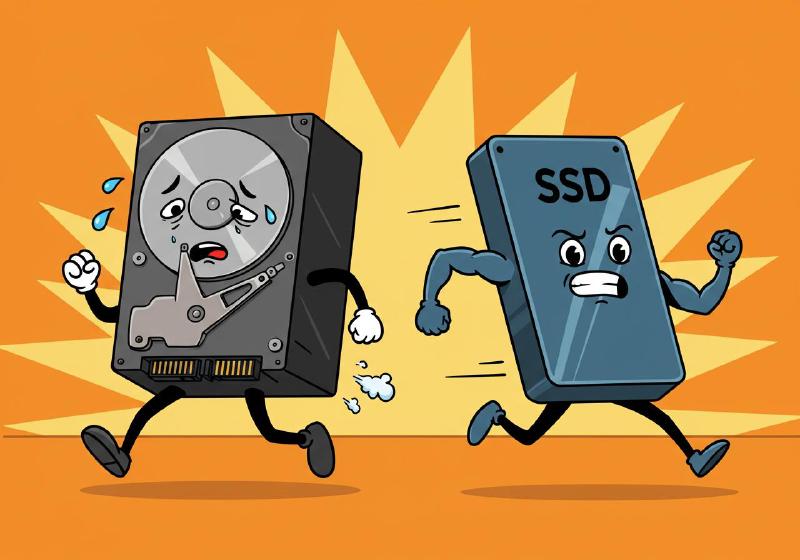
From past experience, I knew I was leaning heavily towards an all-flash setup. Why? Well, for starters, the speed boost is just incredible. But also, thinking about power efficiency, flash storage is a winner. I started browsing second-hand SSDs on eBay and was surprised to see that the price gap between SAS-based and NVMe drives had shrunk to almost nothing. NVMe became a no-brainer. Not only would I get insane performance, but it also meant the hardware would be capable of running vSAN’s Express Storage Architecture (ESA), which, unlike the Original Storage Architecture (OSA), doesn’t require dedicating disks for a separate cache tier, freeing up that capacity for more VMs.
Speaking of power, going all-flash would be a game-changer for my energy consumption. My current spinning disks slurp about 7.5W each on average. Sounds small, but across a host, that’s 336W just for storage! NVMe drives like the Samsung PM963? We’re talking 2.5W idle and 7.5W at full tilt. Okay, peak power is similar, but the sheer speed of NVMe (430,000 read and 40,000 write IOPS per drive!) means I need fewer drives overall to get the performance I’m after. By aiming for just 4x 1.92TB NVMes per host, I could slash my storage power usage to a measly 10-30W per server. Every watt counts, especially here in NZ where power isn’t cheap!
The Kiwi Conundrum: New Zealand’s Hardware Scene#
Now, here’s where living in New Zealand throws a spanner in the works. Being a small country miles away from major tech hubs means our local second-hand market is… limited. TradeMe (that’s our local eBay-ish site) has bits and pieces, but finding modern, affordable gear? Like searching for a needle in a haystack. And even when something decent pops up, it’s often been stripped bare, coming from small businesses that didn’t spec them up much in the first place.
To get real value and find kit that actually met my needs, I had to cast my net wider. eBay in the US became my go-to. Way, way more choice of second-hand enterprise stuff there. Sure, it brings its own headaches – eye-watering shipping costs and import taxes. But the sheer range of options made it worth the pain. It felt like my best shot at striking that balance between getting decent performance without emptying my wallet.
The Shortlist: Contenders for the Homelab Crown#
After all that digging and market research, I managed to whittle down my options to a shortlist of hardware that looked promising for my upgraded homelab. Each of these had to stack up against my original goals: performance, scalability, being kind to my power bill, and not costing a fortune.
Quick Comparison Table#
| Feature | Dell PowerEdge R640/R740 (Intel) | Dell PowerEdge R7415/R7515 (AMD) | Gigabyte/ASUS Barebones |
|---|---|---|---|
| Processor | Xeon Scalable 1st/2nd Gen | EPYC “Naples”/“Rome” | Various Intel/AMD options |
| Max RAM | 768GB with existing DIMMs | 512GB with existing DIMMs | Varies by model |
| Storage | NVMe options available | NVMe options available | Multiple NVMe slots |
| TPM 2.0 | Often Included | Often Included | Available |
| Power Efficiency | Moderate | High | Varies |
| Parts Availability | Excellent | Common | Limited |
| Relative Cost | Moderate-High | High | Moderate |
| Key Advantage | Familiar, well-supported | Better perf/watt ratio | Customizable |
| Key Disadvantage | Higher power usage | More expensive, less RAM capacity | Potentially harder to source parts |
Let’s get into the nitty-gritty of each option, shall we?
Option 1: Sticking with What I Know - Dell PowerEdge 14th Gen Intel (R640 or R740)#

Dell hardware is familiar and generally reliable, which is a big plus for me. The 14th generation PowerEdge servers (R640 or R740) represent a solid step up from my current R730xd’s, offering compatibility with Intel Xeon Scalable 1st or 2nd Gen processors. The R640s are 1U rack servers that come in various configurations, supporting different drive bay options, including NVMe. For example, listings show configurations with 10 SFF bays and NVMe backplanes. Processor options vary (e.g., Intel Xeon Gold 6138, 6132), as do RAM configurations (e.g., 16GB, 64GB, 128GB), though the R640 supports up to 1.5TB of RAM. However, for me, the practical RAM capacity depends on the number of DIMM slots, as I plan to use my existing 32GB DDR4 DIMMs. The R640s and R740s come with 24 DIMM slots which would give me 768GB. Storage controllers also vary (e.g., HBA330, H730P), and networking can range from 1GbE to 10GbE SFP+. While TPM 2.0 is possible, it’s not always included; for example, it was present in a VXRAIL E560F (which uses the R640 chassis) but not in other R640 listings. The R740s by comparison are more of less the same but are 2U Servers, generally meaning more drive bays, more PCIe slots, and better cooling. My main hesitation with these Intel-based servers remains their relatively higher power consumption.
Option 2: AMD Enters the Ring – Dell PowerEdge 14th or 15th Gen AMDs (R7415 or R7515)#
Staying in the Dell family, I also checked out their AMD-powered servers. These had some instant appeal because of their single-processor design, making the most of AMD’s higher core counts. Like the Intel Dells, they’ve got TPM 2.0, DDR4 support, and NVMe storage options. AMD’s reputation for performance-per-watt, especially with single-CPU setups, is strong – meaning potentially better power efficiency. However, these AMD servers tend to be pricier on the second-hand market. Probably because they’re a bit rarer than the Intel versions and are hot property for labs. Also, that single CPU design limits them to 16 DIMM slots – maxing out at 512GB RAM with my 32GB sticks, compared to the 24 slots and 768GB in the Intel models. Everything comes with a trade off.
Option 3: Going Barebones DIY – Gigabyte or ASUS#

Then I thought, “Why not go full DIY?” Gigabyte and ASUS were brands I knew well from my PC-building days, and they both have a good name for server-grade gear. Fellow MVP Philip Elder has built server solutions using them, which gave me confidence. These barebones systems offer both Intel and AMD options, and plenty of NVMe slots. Sounded good on paper, but they’re less common in the second-hand world, which worries me about finding spares down the line. Especially when it comes to TPM 2.0, as usual the eBay listing are unclear on whether they’re included. And honestly, the cost savings weren’t massive enough to justify the potential hassle of sourcing replacement parts if something went wrong.
Weighing it All Up#
Truthfully, I was leaning towards the Dell R640s or R740s. Mainly because they are just everywhere. That means future upgrades and fixes would be easier. Dell parts and Intel CPU upgrades of that generation are much easier to get hold of. Plus, sticking with Intel meant if I did upgrade to 2nd Gen processors later, I could potentially play with Intel Optane Memory DIMMs and boost my RAM beyond 768GB without emptying my wallet on new regular DIMMs.
The Unexpected Twist – Jackpot#
Just when I thought I was all set on the Dell 14th Gen Intels! A local opportunity popped up that was just too good to ignore.
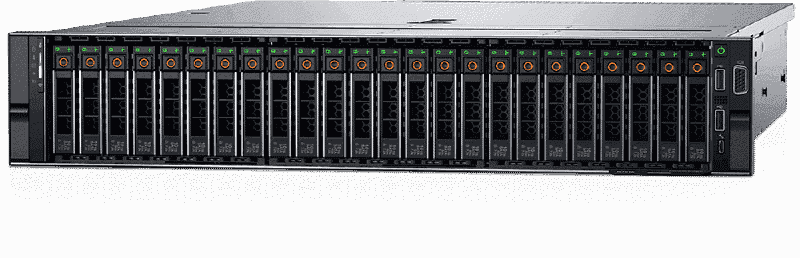
Out of the blue, a listing appeared on TradeMe for a bunch of 1U servers. These weren’t just any servers – they were packing Intel 1st Gen Scalable processors, a healthy chunk of RAM, NVMe drives, and a mix of 1GbE and 10GbE NICs. Now they didn’t match my original plan for 4x 1.92TB disks per server, but with 12 U.2 Slots I’ve plenty of room to expand in future. Turns out, they were ex-NetApp Solidfire nodes, actually rebranded QCT QuantaGrid servers. Now, QCT hardware, while used by the big guys (hyperscalers and OEMs), isn’t something you see sold to regular folks every day. That was a bit of a risk – spare parts might be harder to find. And since they were running custom NetApp software, future firmware updates could be a headache. But… the price. It was just crazy good. And the hardware ticked all the boxes. So, I took the plunge and managed to snag three of these servers for just $900NZD each! Seriously!
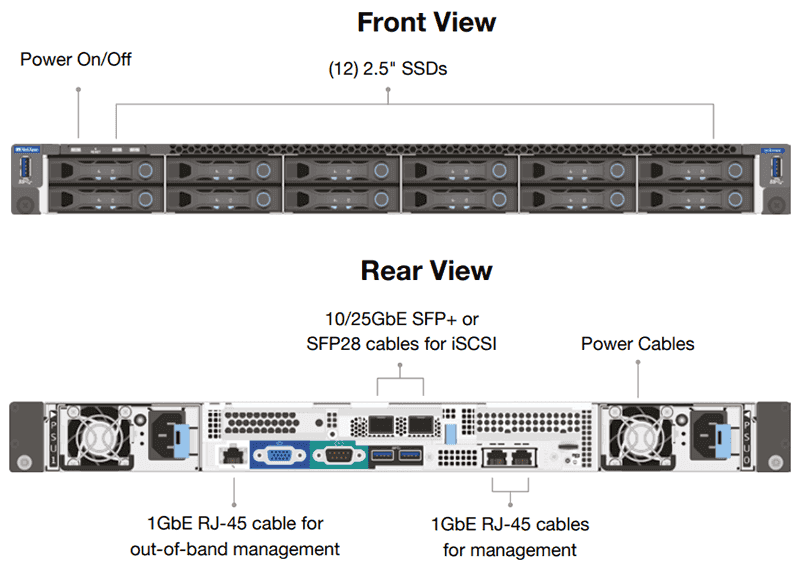
| Component | Specification | Maximum Capacity |
|---|---|---|
| Model | QCT QuantaGrid D52B-1U | |
| Processors | 2x Intel Xeon Gold 5120 (14C/28T @ 2.2GHz) | 2x Intel Xeon Scalable 1st/2nd Gen (up to 205W TDP) |
| Memory | 256GB DDR4 (8x 32GB DIMMs) | 24x DIMM slots (potentially up to 3TB with 128GB LRDIMMs) |
| Storage | 2x Samsung PM963 1.92TB NVMe | Up to 12x 2.5" NVMe SSDs |
| 1x 128GB SATADOM | Up to 2x 256GB SATADOM | |
| Networking | 2x 1GbE, 2x 10GbE | 1x OCP 2.0 NIC up to Dual 25GbE, 3x PCIe NICs up to Dual 100GbE |
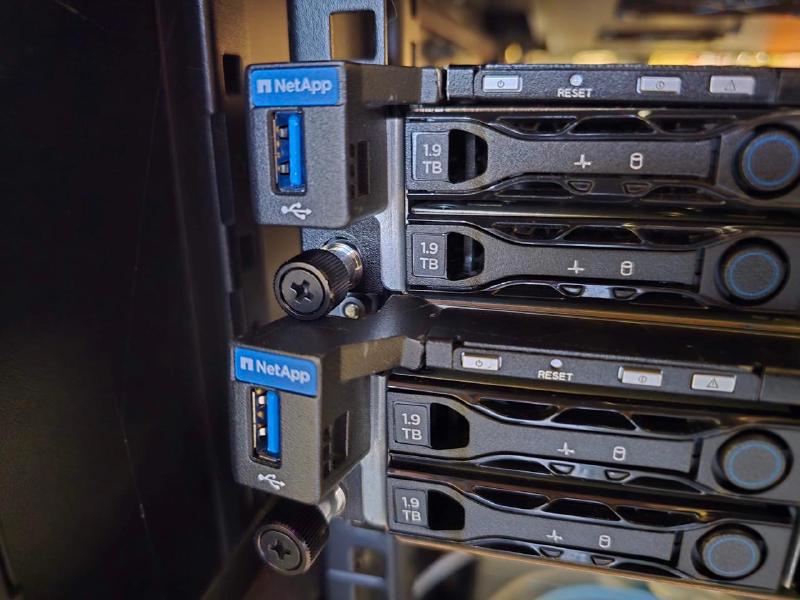
Future-proofing is key for me, especially for Azure Local and S2D, so RDMA was a must. These servers had an OCP 2.0 slot with 1GbE NICs, which were ripe for upgrading to 10GbE+. Checking the QCT site, they listed compatibility with Mellanox adapters. Perfect! I ordered a ConnectX-4 LX 25GbE card for each server. These are even better than my old ConnectX-3 Pros – less power, faster speeds, tons of offload features, and they play nicely with pretty much any OS. And as for the TPM 2.0 modules, I grabbed 4 from eBay UK even though I only got 3 server, just in case of future failures or wanting to expand.
So, the final score? Three servers that are every bit as capable as those Dell R640s I was eyeing, but for half the price, and sourced right here in NZ. They meet all my boxes for modern OS compatibility, are cost-effective, and have room to grow.
Hardware: sorted. Now, the real fun begins – building it all out and putting it through its paces!
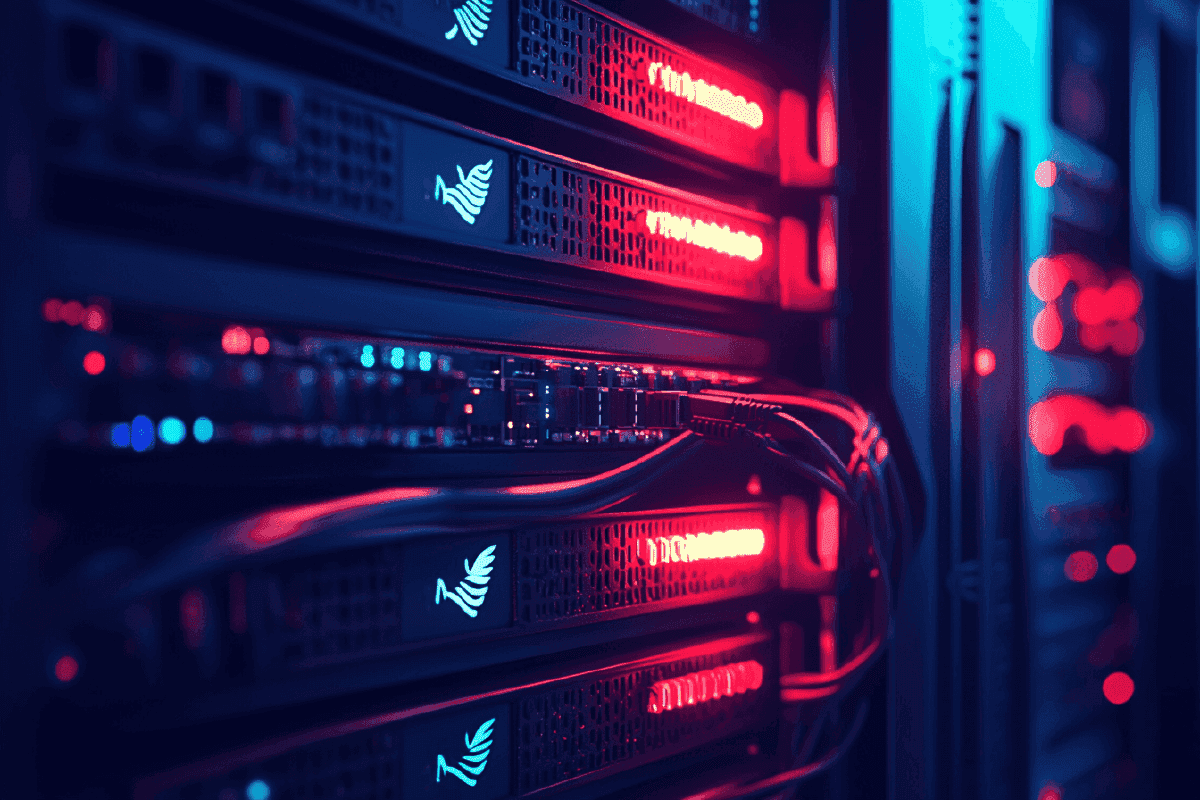
Building the Homelab: From Battered Boxes to the Rack#
So, those three QCT servers finally shipped out from Wellington, heading south to Christchurch. Except, the courier decided to take them on a bit of a South Island tour, with an unexpected stop in Cromwell before finally making their way back to me in Christchurch. It was a logistical adventure, to say the least!
When the servers finally arrived, the state of the boxes was concerning. They looked like they’d had a very rough trip, with dents and tears aplenty. And unfortunately, the servers inside hadn’t fared much better. The chassis of one was noticeably bent, requiring some careful bending to get it (mostly) straight and ready for the rack. The third server arrived a few days later in similar condition.
With the servers finally wrestled out of their packaging, the next step was getting them into the rack. Despite the slight bend in one of the chassis, I managed to slide all three into place. It’s always a satisfying feeling to see the physical hardware taking shape.
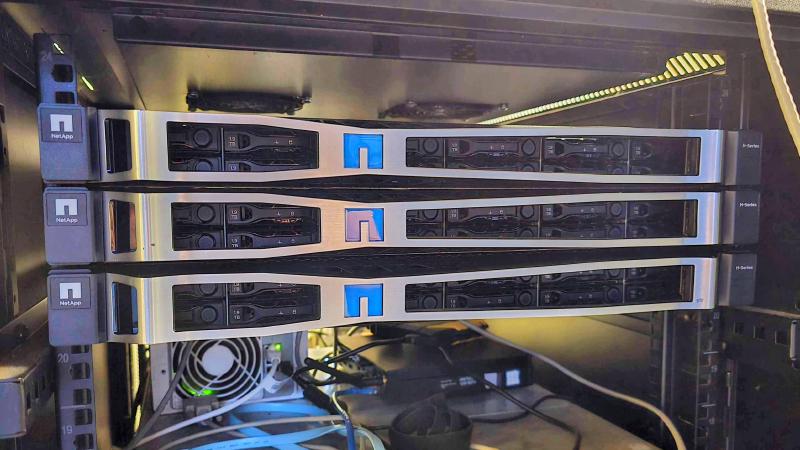
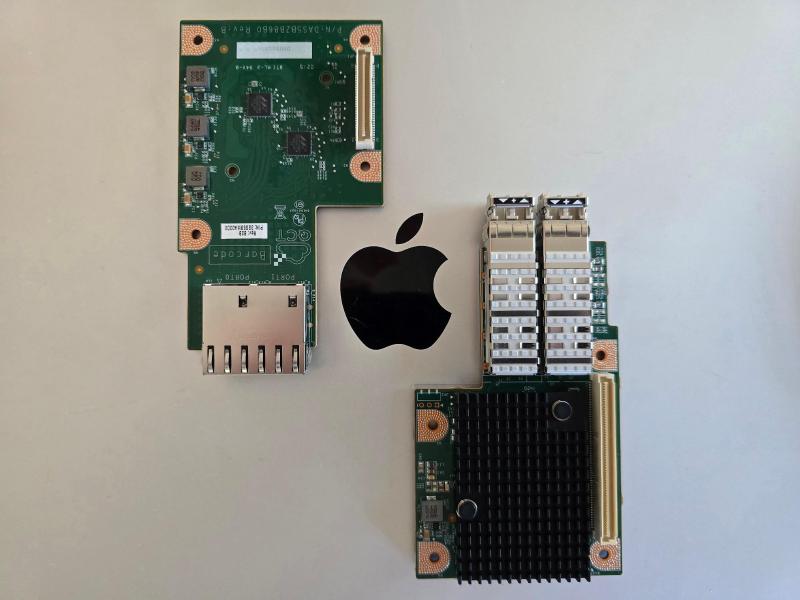
As I started inspecting the hardware, I had a pleasant surprise. It turned out that the PCIe NICs in all three servers were actually 25GbE Mellanox ConnectX-4 LX adapters! This was fantastic news as it meant I already had high-speed networking capabilities beyond the onboard 1GbE ports. It seems my purchase of separate OCP 25GbE NICs might have been unnecessary had the original listing been more detailed, but having extra 25GbE adapters isn’t the worst problem to have!
Existing Network Infrastructure#
While the compute and storage are getting a significant overhaul, the core of my network infrastructure is already well-equipped to handle the demands of the upgraded homelab. I’ll be keeping my existing pair of Dell S4048-ON 10GbE Top of Rack switches. These switches are absolute workhorses, providing all the high-performance connectivity I need and boasting impressive Layer 3 routing capabilities. This will be crucial for when I start diving into more advanced networking concepts like VMware NSX or Microsoft’s SDN Stack.
For out-of-band management and lower-bandwidth connections, I’ll continue to rely on my Unifi 1GbE Out-of-Band switch. It’s been rock solid for managing all my 1GbE connections and keeps the management plane separate from the high-performance data network.
Finally, to ensure proper security and segmentation between my homelab environment and the rest of my home network, my Fortigate Firewall remains in place. It’s more than capable of handling the traffic and providing the necessary security policies.
So, while the servers are getting a major boost, the networking foundation is already robust and ready to support the increased performance and complexity I’m planning for in the lab. A full network overhaul isn’t necessary at this stage, allowing me to focus my current efforts and budget on the compute and storage upgrades.
From Parts to Platform: The Next Phase Awaits#
So, that brings us to the end of Part 2. We’ve explored the options, made the tough decisions, and even wrestled some slightly battered servers into the rack. The foundation for the new homelab is now physically in place, and I’m excited about the potential it holds.
In Part 3, we’ll finally power up this new hardware and see what it can really do. I’ll be taking you through the initial steps of getting the system operational, putting it through its paces with some revealing performance tests, and sharing my thoughts on what the future holds for this upgraded homelab. Stay tuned – the real fun is just about to begin!