Microsoft products are showing a clear theme these days, and the System Center Suite is no acception, hybrid scenarios and cloud augmentation.
And while there are those that see this as just a way to drive Azure adoption, this doesn’t need to be a bad thing.
In this article, I’m going to cover how to take advantage of Azure Update Management, using the new Extension in System Center Virtual Machine Manager 2019.
Note: For the purpose of this article, I will be assuming that VMM 2019 is already in place, as is an Azure Automation account with Update Management enabled.
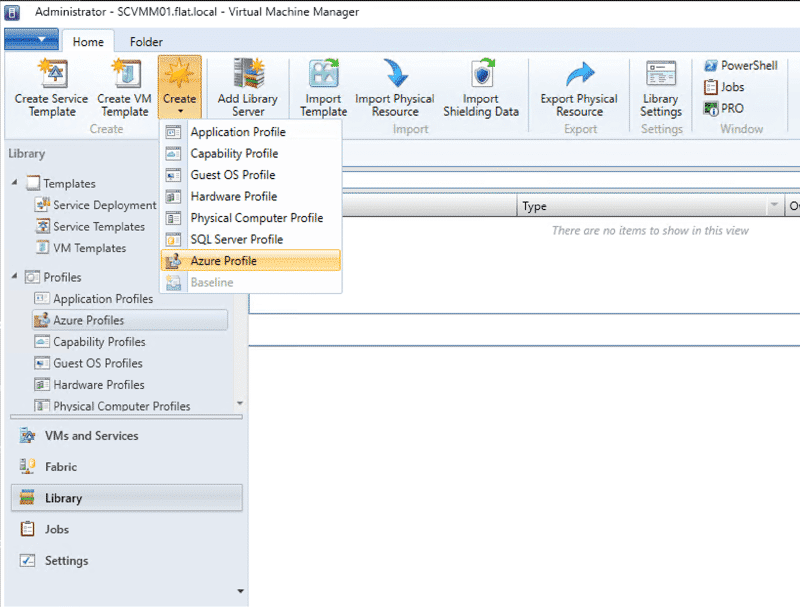
One thing you might have noticed that’s new in the SCVMM 2019 console, is the ‘Azure Profiles’ under the Library tab. Currently this allows for 2 kinds of Azure Profiles, ‘Azure VM Management’ and ‘Azure Update Management’, but today we’re only interested in the later option, so let’s go ahead and create a new profile.
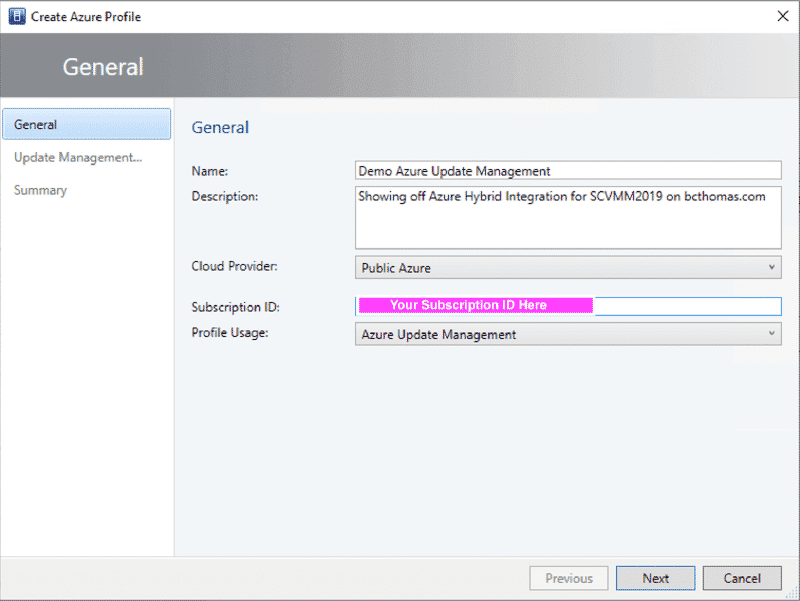
The first step of the wizard is a simple one, give the profile a descriptive name and provide the Azure Subscription ID, then select ‘Azure Update Management’ as a Profile Usage.
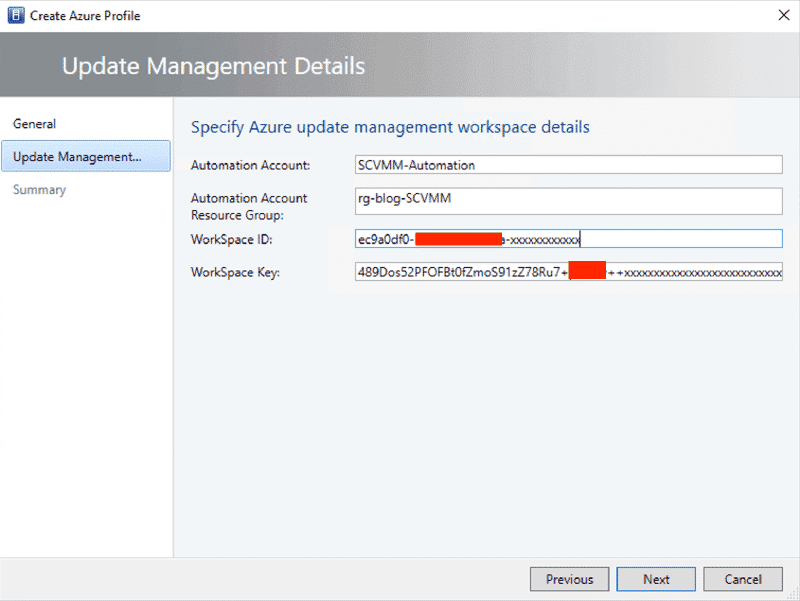
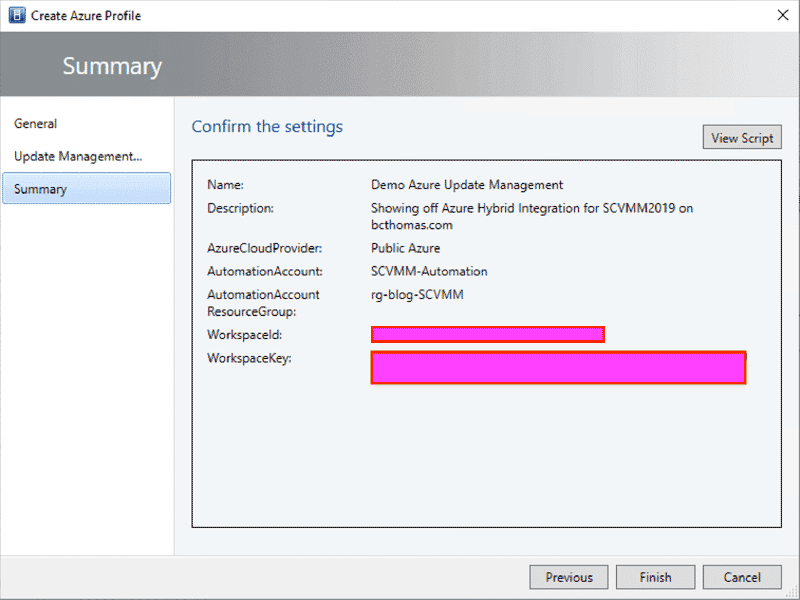
Now you need to provide the specific details for your Update Management environment in Azure, these can all be found in the Azure Portal.
If you’re like me, you prefer to use Powershell and avoid all those mouse clicks, so here’s the exact same steps without using the VMM Console.
$NewSCAzureProfileParams = @{
Name = "Demo Azure Update Management"
Description = "Showing off Azure Hybrid Integration for SCVMM2019 on bcthomas.com"
SubscriptionId = "86b3aced-x00x-xx11-22xx-f9607460ffc5"
CloudProvider = "AzurePublic"
WorkspaceId = "ec9a0df0-3x3x-x4x4-5xx5-b4aac48f82c9"
WorkspaceKey = "489Dos52PFOFBt0fZmoS91zZ78Ru7+xxxxx+xxxxxneLxxxxxpgjSJ+dpegWuxxxxHlAGRkNwxaXqB7GITgeg=="
AutomationAccount = "SCVMM-Automation"
AutomationAccountResourceGroup = "rg-blog-SCVMM"
VMMServer = "SCVMM01"
}
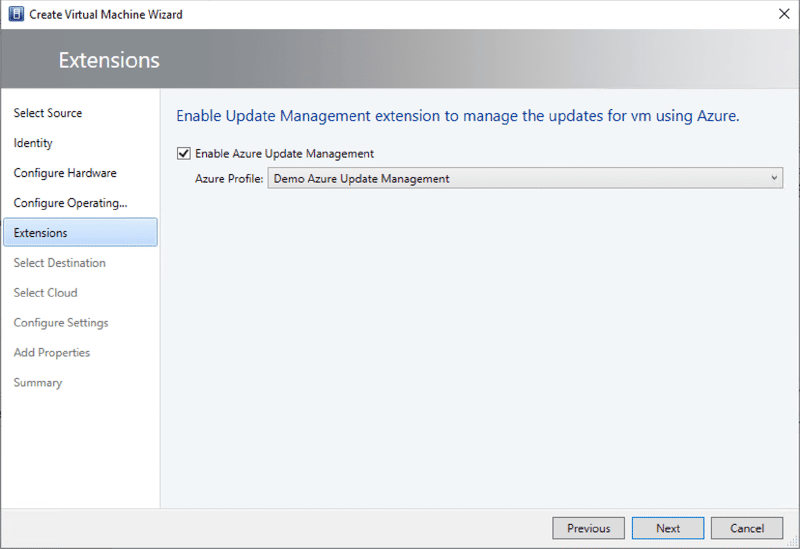
New-SCAzureProfile @NewSCAzureProfileParamsWith the new Azure Profile configured, you can now make use of it as part of a standard VM deployment wizard. If you’ve configured multiple profile, you’ll be able to pick the appropriate one at deployment.
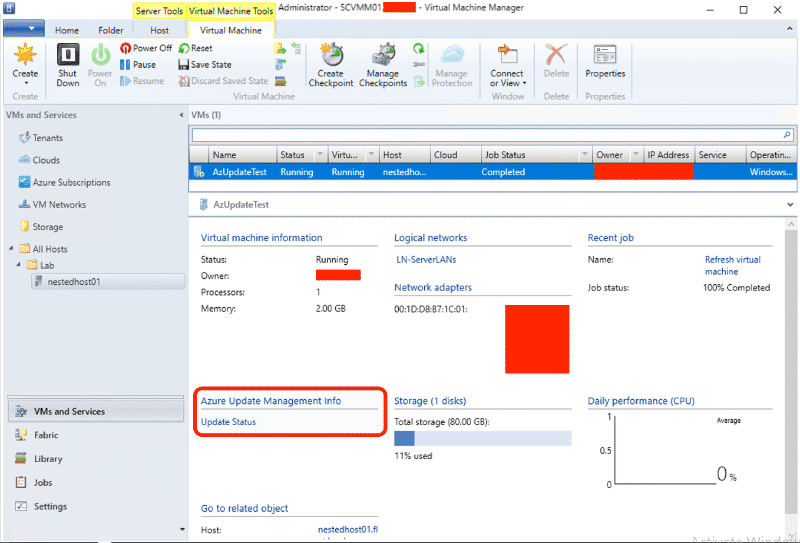
Once the VM deployment is finished, you’ll get a new detail section in the VM details pane called ‘Azure Update Management Info’ with a hardlink button ‘Update Status’ that will take you through to the Azure Portal again to show the status of the VM OS in Azure Update Management
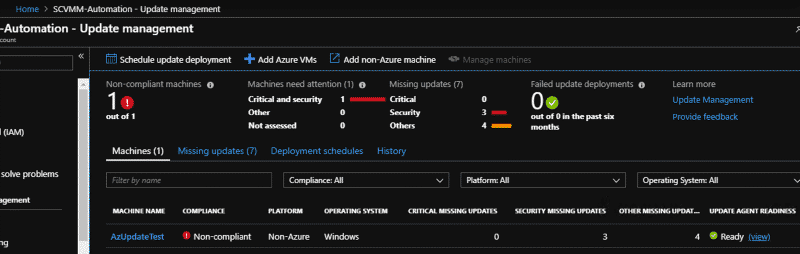
This is all well and good for a quick start, but the real power is when you add the Azure Update Profile into your VM Templates. Now you can make sure all VM deployments will be onboarded into your Azure Update Management account, for an overview of the status of your VMs patch status and scheduling update remediation.
I hope this helps someone get up and running with this new, simple but excellent SCVMM 2019 feature.